Chicken Pot Pie

I’m back on a food network kick and it seems everyone is making chicken pot pie these days.  This dish has never held much appeal for me but the more I watched Barefoot Contessa, The Pioneer Woman and Trisha Yearwood prepare it, the more I wanted to make it.  It just seems like a hug in a dish.  A highly-caloric hug.

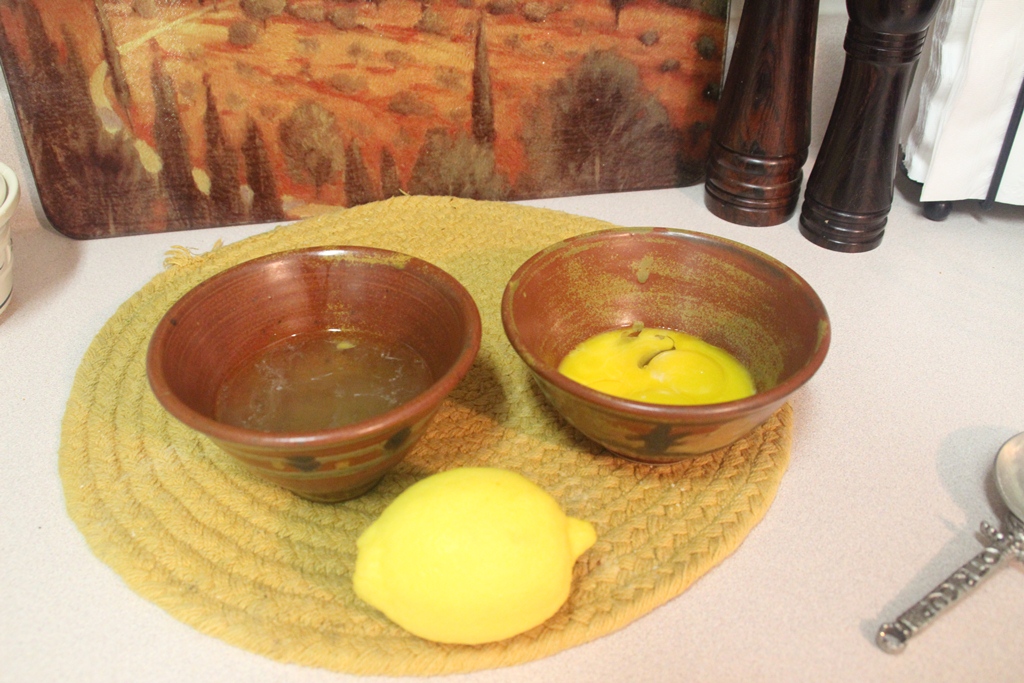
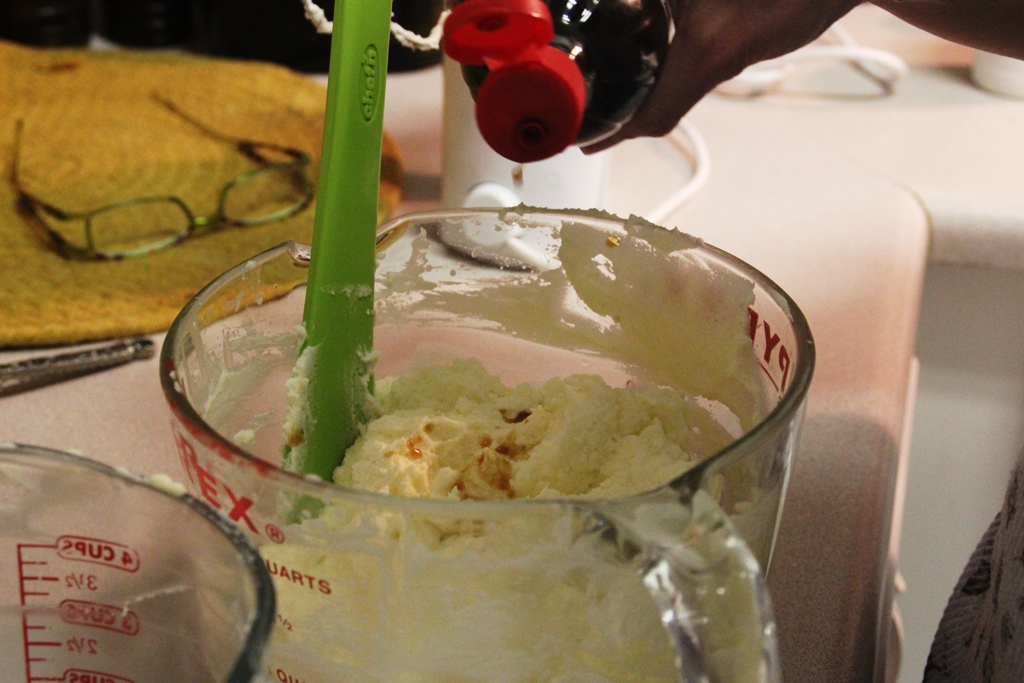
I reviewed a couple of recipes and made up a hybrid of sorts.  I pulled out some chicken breasts from the freezer, an onion, the remaining celery from some lentils I had made early in the week, white wine, half and half, and some butter.  I needed only a couple of things from the store: fresh thyme, carrots, chicken bouillon cubes and refrigerated pie dough.  I didn’t make my own crust because I couldn’t stand to think about all of the shortening and butter atop this already cream-based dish and I didn’t feel like pulling out and cleaning my 49lb food processor.   If I don’t have to measure out the fat, it doesn’t exist as far as I’m concerned.

Now, as I was thinking about making this dish, I realized that I didn’t have any ramekins or personal-sized soufflé dishes.  I decided to swing by the home section at Marshalls to see if they had anything inexpensive.  All they had were miniature Le Crueset square baking dishes in red.  While they were reasonably priced, I have mustard-colored Le Crueset and my OCD self would not let me purchase a non-matching color.

I headed over to Big Lots.  On my way into the store, I caught a renegade shopping cart that started careening down the parking lot and towards an unassuming parked vehicle.  I stopped the cart about a foot shy of a big old dent in the side of this car.  As I neared the door to the store, a man waiting in a truck rolled down his window and yelled, “Nice save!”  For my good Samaritan efforts, I thought maybe the baking dish gods would reward me by having the right ramekins in this store.  Nope.  At least I worked off a few calories in the high-speed cart chase.

I recalled Kroger had a nice selection of well-priced baking pans and dishes so I ran in there quickly.  Sold out in the size I needed.  Of course!  I was about to bite the bullet and hit up William Sonoma when I remembered Pier 1.  They had just the thing at just the right price.  Success!

photo(8)

I primarily used The Pioneer Woman’s recipe from her first cookbook, substituting half and half for heavy cream and fresh thyme for dried.  I also added in peas because they’re cute and tasty and a little cayenne pepper for a kick.  I was pleased with the result but I might consider adding a little bit of dry mustard next time or perhaps some curry powder.  I might also consider a smaller ramekin next time because I feel like I just ate a rock.  Back to Pier 1!

photo(9)

I did use some smaller disposable pans so I could stick the rest of the recipe in the freezer. Aren’t they precious?

photo(11)

Y’all eat up,

Sugarlump

photo(10)

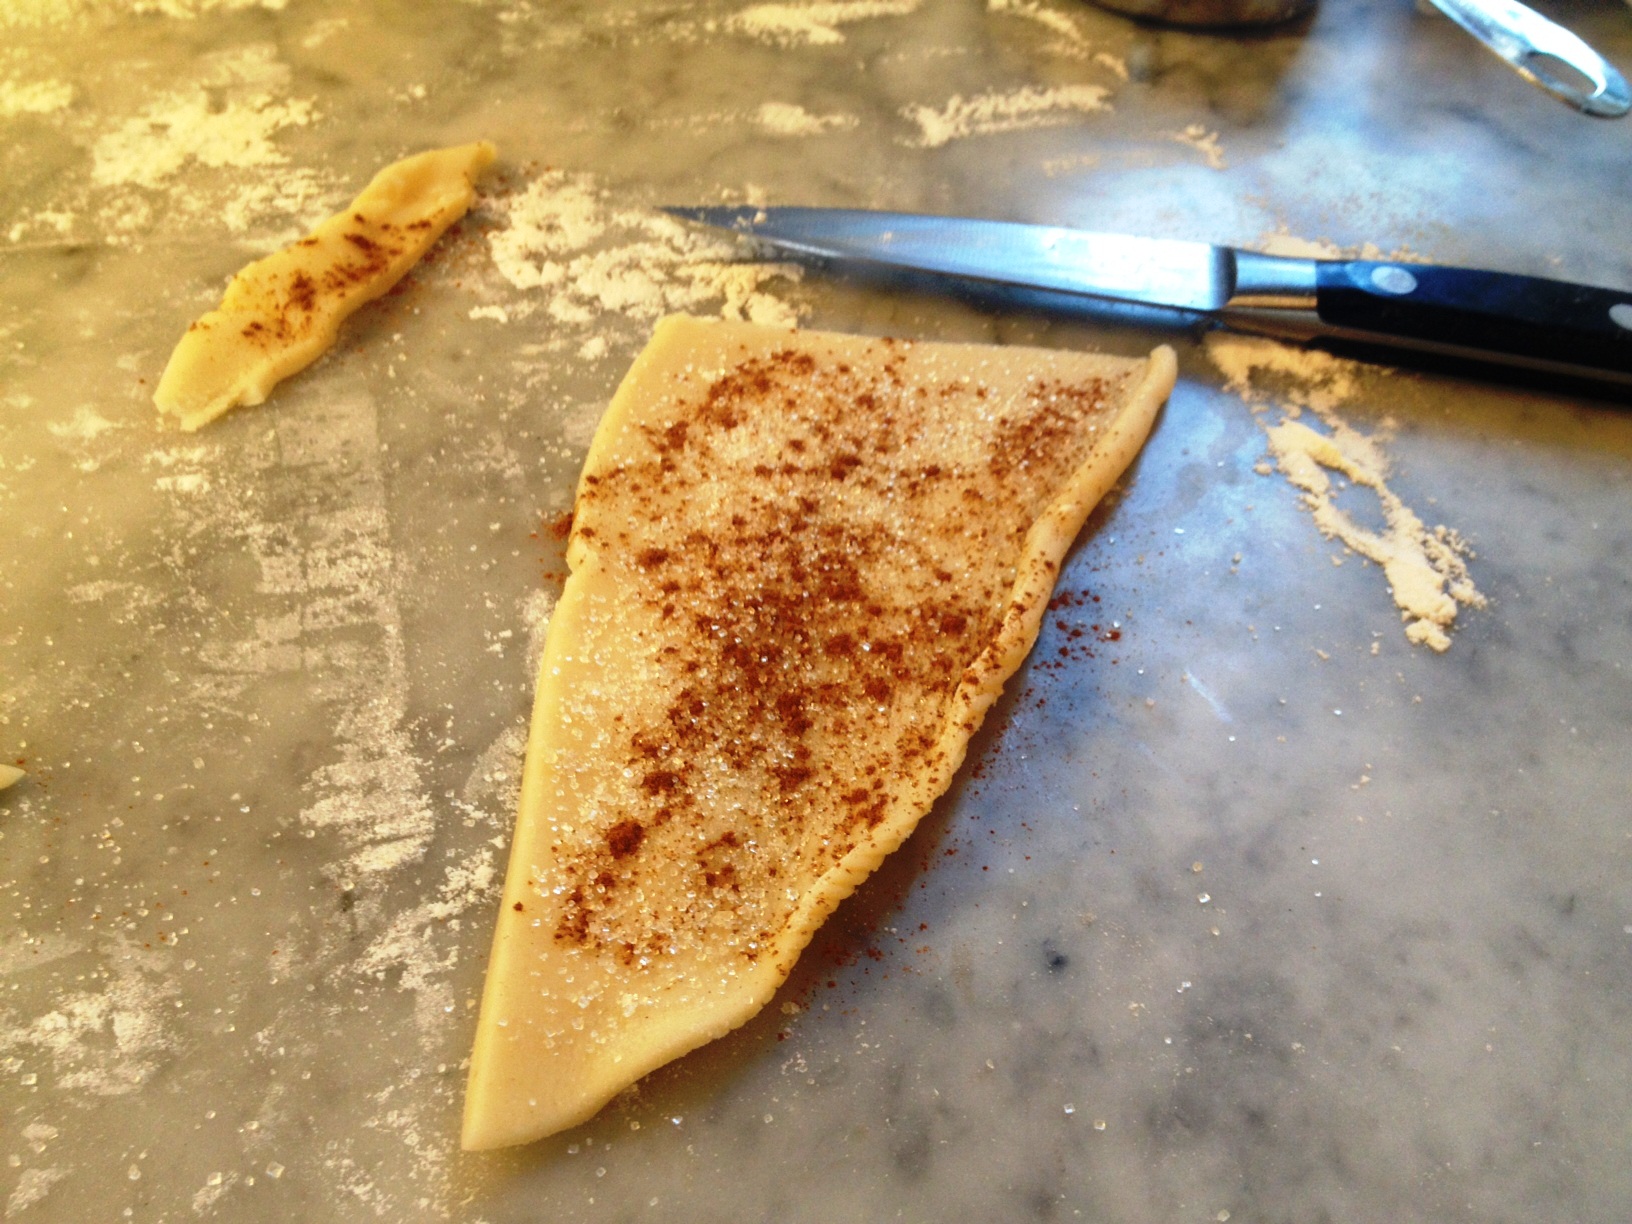
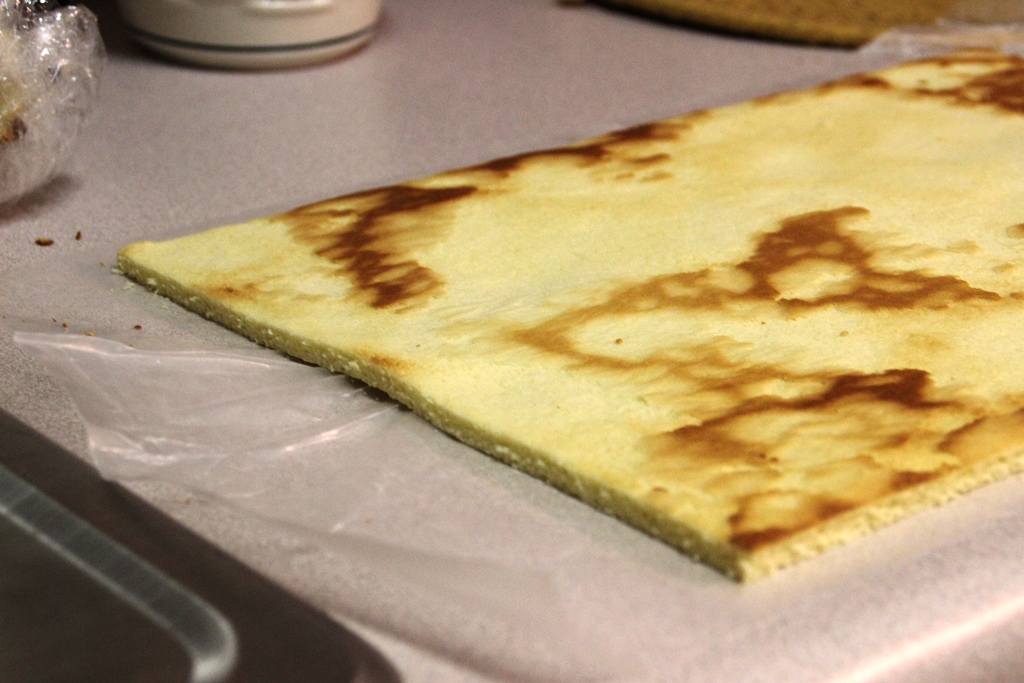
P.S. I sprinkled these dough scraps with cinnamon and sugar and put them in the oven to bake with my pot pie.  It was a sweet little snack!

It’s kind of not so great…

I recently purchased Gwyneth Paltrow’s new book, “It’s All Good,” intrigued by the idea of healthier and cleaner eating.  The book offers a lot of great information and recipes about eating diary-free and gluten-free.  It also discusses healthier choices for fats and non-meat proteins.  As someone with a sensitive stomach, I thought I might try out some of these ideas with my meals.  Don’t get me wrong though, you won’t catch me eating tofu lettuce wraps any time soon/ever.  Except that one time I made them for dinner at my parents’ house.  I tried hard to sell them to my dad as a delightfully healthy alternative to beef tacos and he just wasn’t buying it.  And neither was I.  So I decided to apply my new way of thinking about eating to a fairly familiar food: pizza.

I headed to Dominos one evening a few weeks back.  I went in and ordered a medium gluten-free pizza thinking that was the smallest size.

Dominos guy: “Oh we only have the gluten-free in a small.”

Me: “Ok perfect.  How much will that be?”

Dominos guy: “11.99?”

Me: “Wow that seems expensive for a small…”

Dominos guy: “Well you can get a medium for 7.99!”

Me: “I thought you said the gluten-free crust only came in a small.”

Dominos guy: “Well it’s not really gluten free.”

Me: “What do you mean? Your gluten-free crust isn’t really gluten-free?”

Dominos guy: “Well if you ordered a medium it wouldn’t be.  The medium is a better deal unless you need the gluten-free for health reasons.”

(DUH?  Why else would I order gluten-free?)

Me: “I’ll take the small gluten-free, please.”

Verdict: The pizza was pretty terrible and expensive.  I think I’ll stick to the real stuff and just eat it infrequently.

My next venture was speckled lima beans.  I must admit that I usually make these with bacon grease and on this occasion I fully intended to make them that way; however, there was no bacon or bacon grease to be found in my refrigerator.  Having carefully studied all of the critical pantry items for a dairy-free and gluten-free household, I had thought it was worthwhile to purchase a TUB of coconut oil at the wholesale club.  Never mind that I only cook a few nights per week, I hate coconut, and I am the only one in the household that will be using the coconut oil.  The 54oz tub was just the ticket.

photo(6)

Seeing the tub of coconut oil sitting on the counter, I decided to throw a few healthy spoonfuls in as my fat for the beans.

Boy was that a misstep.

I thought it would be a subtle taste, but no.

I threw in a halved onion and 2 cloves of garlic to try to mitigate the undesirable coconut flavor.  It helped, but the coconut was still there in a big bad way.  Bacon grease and coconut oil are not similar flavor profiles in case you were wondering.

Verdict:  Good thing you can use this stuff as moisturizer.  I’ll be smelling pretty tropical for the next 23.4 years or however long it takes me to saturate my skin with that tub of coconut oil.

Having failed miserably with savory options, I thought I might have better luck with something sweet.

Nope.

I found this recipe that sounded great for a gluten-free fudgy chocolate cake.  How bad could that be?

BAD.

IMG_5574

It looked so pretty, but underneath that icing lay a very strange tangy, cleaning solution-like aftertaste and a chewy texture much like an actual dish sponge (not to be confused with the lovely texture of sponge-cake).

It nearly ruined chocolate cake for me.

In an effort to stay positive and salvage the situation, I have been scraping off the naturally gluten-free chocolate icing and eating it by the spoonful.  I now have a scalped cake in my refrigerator.

Verdict:  There’s a reason people bake with wheat flour.

I’m hungry.

Y’all come back,

Sugarlump

Tackling Tiramisu

There are very few non-chocolate desserts that I will give the time of day.  My absolute favorite non-chocolate dessert is butterscotch brownies, which continue to baffle me with their non-chocolaty deliciousness.  There are some things that cannot be rationally explained and I believe this is one of them.  Next on my list of acceptable non-chocolate desserts is tiramisu, but only a handful that I have tasted in my life are up to snuff.  One absolute deal-breaker is any trace of almond.  In my opinion, it does not belong in tiramisu.

I tried to make tiramisu once before in my life.  It was not a success.  I went a little overboard on the coffee and put in about twice what the recipe called for because those lady fingers just didn’t look saturated enough as I was assembling the dessert.  The next day, my tiramisu was sitting in a puddle.  The taste wasn’t bad, but I definitely had a texture issue to work out.  Unfortunately, I had volunteered to make this dessert because my mom’s boss and his family were coming over for dinner.  They were sports and cleaned their plates.   It was on that fateful day that I learned firsthand the valuable lesson that one should never prepare an unfamiliar dish for the first time when company is coming over, particularly company you would like to remain in good standing with.  Instead, I would highly recommend preparing something that you have perfected.

My mother did not get fired in case you were wondering.

Since my tiramisu had knocked me down instead of picking me up, it was a while before I was emotionally ready to tackle it again.  My neighbor Anna is Italian and a wonderful cook and baker, so I decided it was safe to try to make tiramisu again with her.

I only allowed myself to measure the dry ingredients and did not deviate from the recipe in the slightest.

For the most part.

When Anna and I were discussing the ingredients for the dessert, I offered to pick up the lady fingers.  She informed me that that would not be necessary as we would be making the cake portion ourselves because it would be a better texture and flavor.  Boy was she right on about that.

This recipe is a long one, but it’s not difficult.  It originates from Southern Living magazine, circa 1988. Heregoes:

IMG_5077

Preheat the oven to 400 degrees and line a half-sheet pan with wax paper and then butter and flour the wax paper so the cake does not stick.

IMG_5078

Separate 4 eggs and let them come to room temperature.

IMG_5079

Melt 3 tablespoons of butter and let it cool.

IMG_5081

Brew some potent coffee and put 1 cup of it aside to cool. (I would recommend drinking the rest of it if you’re sleepy because this is going to take a while.)  Add ¼ cup of sugar and a miniature of Kahlua to the coffee.

IMG_5082

Sift together 1 cup of all-purpose flour, ¼ teaspoon of baking powder, and ¼ teaspoon of salt.

IMG_5083

In another bowl, beat together the egg yolks and ¾ cup of sugar until light and thick.  This will take about 5 minutes so I would recommend stretching beforehand if using a handheld mixer.

IMG_5085

It will look something like this when it’s ready.

IMG_5090

Then pour in 1 tablespoon of lemon juice, 1 tablespoon of water, and 1 teaspoon of ‘niller extract.

IMG_5091

I love vanilla extract.

IMG_5093

I also really like this nifty little gadget that allows one to dust cocoa powder on things.

Sorry, I got sidetracked by the idea of something chocolate.

IMG_5094

In yet another bowl, beat the egg whites on low speed until they are frothy and then add in ¼ cup of sugar.  Increase the speed of the mixer to medium and beat the egg whites until they are stiff but don’t overbeat.

IMG_5097

Add half of the egg white mixture and half of the flour mixture to the egg yolk mixture.  Fold the mixtures together until combined.  Repeat with the remaining half of the mixtures.

IMG_5099

Pour the batter onto the sheet pan.

IMG_5104

Spread the batter evenly across the sheet pan using a spatula.

IMG_5108

Then pop it in the oven for 15 or 20 minutes or until golden brown on top and the center springs back.

IMG_5109

Let it cool for a few minutes in the pan and then turn it out onto wax paper and let it cool completely.

IMG_5110

Carefully remove the wax paper from the bottom of the cake as that is not a texture you want in your tiramisu.

IMG_5112

Then, cut off the edges of the sponge cake so no one has to experience a crunchy/stiff bite of tiramisu. Remember, it’s all about texture.

IMG_5114

For the filling, beat 1 cup of heavy cream until it forms peaks.

IMG_5115

Then beat together ½ cup sugar and 1 pound of mascarpone cheese.

IMG_5119

Fold together the mascarpone mixture and the heavy cream.  If you’re feeling rebellious, add a few drops of vanilla extract into the mixture.  In my experience, a little extra vanilla extract never hurt anything.

It was Anna’s idea.

IMG_5120

Next, cut the cake in half and place one half on a serving dish.

IMG_5122

Brush half of the coffee mixture onto the cake using a pastry brush.

IMG_5123

It should look something like this.

IMG_5124

Dust the cake generously with cocoa powder.

IMG_5126

Then sprinkle on some chocolate shavings.

IMG_5127

Spread half of the filling mixture over the first layer of cake.

IMG_5129

Easier said than done. Don’t be alarmed if some of the chocolate shavings get mixed in.  No one will ever know and it will still taste good.

IMG_5130

Repeat this process with the second layer of cake and filling.

IMG_5132

Coffee mixture…

Cocoa powder and chocolate shavings.

Filling…

IMG_5136

Some more cocoa powder…

IMG_5138

Smooth the sides with a knife.

IMG_5140

Decorate the top with dark and white chocolate shavings.

Then let the cake sit overnight in the refrigerator and enjoy the next day (preferably not with your mom’s boss unless this is at least the second time you’re making this recipe).

Here are the recipe cards:

IMG_5143

IMG_5142

IMG_5141

IMG_5144

(We deviated from the recipe a little bit by adding Kahlua instead of sherry or Marsala.  Don’t tell anyone.)

Y’all hurry back,

Sugarlump

Lemon Hummus

I like lemon hummus.   My mom got me hooked on it years back.  No other hummus seems to measure up to the fresh, savory taste of lemon hummus.  Trust me, I’ve tried them all.  Since moving to the South, I have been unable to find lemon hummus available for purchase.   Not that I’ve been able to find it unavailable for purchase.  I haven’t been able to find it at all.

So I got the bright idea to make my own lemon hummus.  I looked up several recipes for a basic hummus and realized that I would need to get myself some tahini paste, which all recipes assured me was available at any grocery store these days.  I headed out to Kroger on my lunch break and placed my bet on the international food isle.  No tahini paste to be found among the other 439 pastes/sauces, some of which were made from a) things I had never heard of and/or b) things I would not like a paste/sauce made out of.  But that’s another discussion for another time/never.

I must have looked perplexed because a nice man who worked at Kroger came over to see if he could help me.  I asked him for tahini paste.  He thought about it for a minute and then remembered that another lady had been in earlier that day looking for the same thing.  He motioned for me to follow him to the organic food isle, where he presented me two tahini paste options, which I had no way of discerning a difference in as they were the same size and price.  I thanked him, picked up the jar that had cuter packaging and walked to the register.

IMG_5021

The cashier scanned the jar and said, “That will be $9.67,” and held up the jar in disbelief.  Tahini paste will set you back a pretty penny, let me tell you.  I said to him, “Yeah that stuff isn’t cheap.  I guess it’s so high because it’s organic.”  He said, “Did you want the organic specifically? Because there are two or three other options in isle 2 and isle 5.”  Now you tell me.  I decided that if I were making my own hummus, which is about as granola crunchy as I get, it might as well be organic.  So I sucked it up and spent a month’s pay on that silly tahini paste.  Feeling a little too natural, I went straight to Chick-fil-a for a 6 count nugget kids’ meal.  It really hit the spot.

After work, I came home and turned on the Alabama -Notre Dame game.  What a nailbiter. About 10 minutes into the game, I determined it was probably safe for me to go get started on my hummus.  I pulled out my food processer, which weighs more than a small child and has more attachments than I can find space for in my cabinets.

IMG_5013

IMG_5016

Here’s what you will need for the hummus:

·         1 can Chickpeas, drained and rinsed

·         2-3 cloves Garlic, chopped

·         1 lemon, zested and juiced

·         2 tbsp. Tahini paste

·         Salt to taste

·         ½ tbsp. Olive oil

·         1-2 tbsp. water

·         You might add a pinch of cayenne pepper to give it a little kick.  I haven’t verified yet whether or not that’s a good move.

Drain and rinse a can of chickpeas.  Chop up several cloves of garlic.  I would go for 3, but I really like garlic. I also happen to dislike vampires, so that works out really well for me.

IMG_5019

Throw the chick peas, garlic, tahini paste,  juice and zest of a lemon, a few dashes of salt and 1 tablespoon of water into the food processor.  Pulse until the ingredients are combined and fairly smooth, adding more water as needed to help the ingredients blend.  Drizzle in olive oil while pulsing at the end.

IMG_5025

Now, do yourself a favor and start spreading this hummus on wheat bread with honey maple turkey, a few slices of red onion and lettuce.  You don’t know what you’re missing.

Y’all come back,

Sugarlump

Fried Chicken

I would venture to say that every Southern cook knows how to fry chicken.  Not all recipes and preparations are the same; in fact, almost no two are exactly alike.  I have read dozens of recipes about frying chicken and they all offer different tips and approaches that they claim are the key to the best fried chicken.   I have yet to try any of them because I don’t know where to start.

I decided to go directly to the source of fried chicken in my life: Grandmother.

While visiting my grandparents in Kentucky last week, I requested fried chicken from my Grandmother, per usual, but I put in a special request for her to allow me to document the process so I could learn how to fry chicken once and for all.   She obliged and thought it was cute that I wanted to take pictures of everything.

So we started out with 2 chicken breasts that had been cut into 2 pieces each, for a total of 4 pieces of chicken.  Grandmother likes the pieces to be a little bit smaller so they cook evenly and all the way through without burning the crust.

(And by we, I mean Grandmother.  She was handling all of the chicken because she knows what she’s doing and I didn’t want any chicken gunk on my camera.  That would not be sanitary.)

It was just me and Grandmother, which is why we were cooking only 4 pieces, but when the whole family is together, she fries 2 or 3 times that amount (in several batches) and sometimes fries dark meat as well.

The first step is to brine the chicken (salt and water) to help the chicken stay moist and seasoned.  While you can let the chicken brine overnight, Grandmother says a few hours is fine.

The next step is somewhat controversial: selecting the frying agent.   This can be peanut oil, canola oil, vegetable oil, lard, vegetable shortening, etc.  Part of the selection usually depends on if you are frying or deep frying.  Grandmother fries her chicken with Crisco and uses enough of the vegetable shortening to cover the chicken about half-way, but not enough to deep fry it.

Grandmother added a couple of HEAPING cooking spoonfuls to the pot. Translation: a lot of Crisco.

I thought this was probably adequate.  Grandmother said not quite.  She then added another big spoonful of Crisco.

Surely this was enough.

Nope.

One more spoonful.  I would say this was about 2 cups of Crisco in all.  Grandmother concurred, but like any good Southern cook, she doesn’t measure.  She just goes by look and feel.

The phrase “ignorance is bliss” comes to mind.  But even knowing about the quantity of grease involved, I’m going to eat the chicken anyway.

Then turn the stove top to 5 and heat the Crisco.

That’s what Grandmother told me and just laughed because of course she knows that 5 is not a universal stovetop temperature.  We decided 5 was equivalent to about medium heat.

Meanwhile, coat the chicken liberally in self-rising flour.   Grandmother uses self-rising because it creates a crispier, more airy crust.

Let the chicken hang out in the flour bowl until the Crisco is heated.  Grandmother says it is ready when you sprinkle in a bit of flour and it sizzles.  Be careful not to get it too hot that it crackles and pops and “carries on.”

When the Crisco is ready, place the chicken, meat side down, in the pot and cover.  Covering the chicken helps to keep the meat moist, but you must let some of the steam escape so your crust doesn’t become soggy, says Grandmother.

To fry the chicken, Grandmother uses a Club Aluminum Dutch oven that has been in the family for approximately 75 years.   She thinks it’s important to cover the chicken so she prefers a Dutch oven to an open cast iron skillet, but she says to be careful with some of the newer, enameled cast iron because they seem to hold in too much steam.  She recommends cooking with the lid slightly askew to allow some of the steam to escape.

Check on the chicken after about 10 or 15 minutes.  If the crust on the bottom is nice and golden brown, it’s time to flip the pieces! Then let cook another 15 minutes or so, covered.

And please wear an apron, velvet house shoes, and your best Wilma Flintstone necklace while fryin’ chicken.  (Picture courtesy of Grandmother)

Then, as the chicken is finishing to its golden brown on the second side, allow it to cook uncovered for about 5-10 minutes to crisp up the crust.

When chicken is crispy and golden brown (after about 30-35 minutes of frying total), remove chicken from pot and allow to drain on a paper towel for a few moments before transferring to a serving dish.

Then, stand back and admire this beautiful work of art.  (Don’t take too long or it will get cold.)

And then, most importantly, please eat it blissfully as you forget about the amount of Crisco used in its preparation.

Thanks for teaching me how to fry chicken, Grandmother!

Y’all come back now, ya hear?

Sugarlump